
What to look for in a BBQ Thermometer
November 9, 2022
Whole Crispy Flounder with Apricot Shallot sauce
November 25, 2022How to use a meat thermometer

In my blog post What to look for when buying a BBQ Thermometer, I talk about all of the critical elements of a good thermometer and how to decide which is the right thermometer for you. But how and when should you actually be using one?
When it comes to using the thermometer for making low and slow barbecue, there are a couple of great tips which will save you time, stress, and cold hard cash. Using the thermometer in the right way will get you the most accurate reading, the best finished product and avoid the ever-looming threat of throwing out that brisket and having to order pizza.
Before we get into how to use the thermometer though, lets understand why we are doing it.

Tenderness
Tenderness can be impacted by a variety of factors, but the biggest influence is the individual cut of meat. On an animal, the more a muscle is used, the less tender that muscle will become. Typically, the higher on the animal the muscle sits, the more tender it will be. This is why, on a cow, most of your steaks are taken from high on the animal. The Filet mignon for example is known for being the most tender part of the cow-This is because it’s very seldomly used.The beef shank or shin for example is the exact opposite, being super tough and firm, because cows are always on their feet.
Tenderness can be achieved from a multitude of techniques such as:
- Dry ageing. The dry ageing process allows the natural enzymes in the meat to break down the muscle fibers over time, making it more tender
- Physically tenderize the meat. Using a Jackard or even a tenderizing hammer are common ways to manipulate the muscle fibres to be more tender and less rigid.
- Brining/adding salt. Introducing salt to the meat fibres denatures the proteins and allows the meat to retain more moisture. Additionally, the salt causes the muscle fibres to unravel and swell making them more tender.
- Resting and slicing. Resting the meat allows the proteins to relax after cooking, while slicing against the grain shortens the length of the fibres, making it easier to chew and become more tender.
- Cooking to the perfect internal temperature. One of the main reasons to cook meat low and slow is that it allows even super tough cuts of meat like Beef shanks to become fall apart tender. This is only achievable by cooking it to the perfect temperature. Similarly, undercooking or overcooking steak will have a huge impact on how tender that steak will ultimately be.
If we were to cook a beef shank at medium rare, after a quick sear like we would do with a steak, it would be so tough, it would be impossible to eat. In contrast, if you cooked your filet mignon for 15 or 16 hours it would be trash.
Placement
Because the range of a thermometer is limited to what it touches, the placement is hugely critical for both ambient and internal probes.
Internal probe placement:
Insert your temperature probe in the thickest part of the meat, or if it is a consistent size-the center. The reading will come from the tip of the probe, so be mindful that you aren’t missing the center by pushing it too far through. Generally, a probe must be at least two inches into the food to get an accurate reading.
When inserting your temp probe, be sure to avoid connecting the probe with any bones or large pockets of fat. The bone in a roast or large joint of meat will typically run at about 10F lower than the meat around it. If the thermometer is pushed into the meat and is measuring the temperature of this bone, the reading will be inaccurate and unhelpful.
Similarly, if the thermometer is sitting in large pockets of fat, the temperature readings will not be aligned with the meat around it, causing an inaccurate read. Most thermometers have a line or indicator on the probe itself to show how deep it should be inserted into the meat. If the probe isn’t entered the full depth that the thermometer requires, it can damage the thermometer, so keep this in mind.
Ambient probes:
One of the main reasons why the mounted thermometers on your smoker are less than helpful (aside from being notoriously unreliable) is their placement.Take an offset smoker for example. On an offset smoker, the firebox is at one side of the smoker and typically the meat is as far from the fire box as possible. When taking a temperature read of the cook chamber, we know that the side closest to the firebox will read higher than the side further way.
Similarly, the temperature at the top of the cook chamber and the temperature at the bottom of the cook chamber will almost certainly be different temperatures. In order to gain an accurate and therefore helpful read on the temperature of the cooker, place your ambient temperature probe as close to the meat as possible (minimum 1 inch away) and as close to the same level as possible within the cooker itself.
Many temperature probes will actually come with a clip that allows you to hold the probe on the actual grill grates, without actually touching the meat or the grates themselves.
Steps on using your leave in thermometer.
1. Identify what type of thermometer fits your need the best-Take a look at my other blog article HERE to help with this.2. Make sure thermometer is clean of any food material from previous cooks.
3. Identify where in the meat to place thermometer. Ideal placement is in the thickest part of the meat, or the center. Avoid touching any bones, or large pockets of fat.
4. Insert to correct depth indicated on the temperature probe itself
5. If using a thermometer which has a cable, make sure that probe wire isn’t pinched in the lid/hood of your cooker. Many cookers have a space where the thermometer can be inserted, without being pinched.
6. Regularly check your temperature to identify any issues early in the cook.
7. Once the cook has been completed, remove the thermometer, clean as needed and store in a dry, cool location.

Steps on using a stick thermometer
1. Make sure thermometer is clean of any food material from previous cooks.2. Identify where in the meat to place thermometer. Ideal placement is in the thickest part of the meat, or the center. Avoid touching any bones, or large pockets of fat.
3. Insert to correct depth indicated on the temperature probe itself.
4. Depending on the thermometer, the temperature may take a few seconds to display. Keep the thermometer in the same spot to allow for an accurate read.
5. Regularly check your temperature to identify any issues early in the cook. When using a stick thermometer, checking the meat requires that you raise the lid of the smoker, so make sure you aren’t doing this too often and try to align these checks with other reasons to open your smoker such as spritzing, basting, wrapping or checking/refilling fuel.
6. Once the cook has been completed, remove the thermometer, clean as needed and store in a dry, cool location.

Steps on using Ambient probe
1. Make sure thermometer is clean of any smoke build up or accidental food contact. When smoke or creosote builds up on the temperature probe, it can cause inaccurate readings.2. Identify where in the cooker to place the probe. Ideal placement is on the same height as the food being cooked, about one inch away from the food. Avoid making contact with anything inside the cooker such as foil trays, water pans or the walls of the cooker, to avoid any inaccurate reads.
3. If using a thermometer which has a cable, make sure that probe wire isn’t pinched in the lid/hood of your cooker. Many cookers have a space where the thermometer can be inserted, without being pinched.
4. Regularly check your temperature to identify any issues early in the cook such as adding more fuel or adjusting vents.
5. Once the cook has been completed, remove the thermometer, clean if needed and store in a dry, cool location.

A couple of things to remember
Thermometers are essential when identifying the internal temperature of your meat, but each time you insert a probe, this does create a hole in the meat which can show up in your slices, as well as create a space for juice to run out. Avoid removing and reinserting the probe multiple times to help mitigate this issue.Just as your meat takes time after being place on the smoker before the temperature begins to raise, most meat will continue to rise in temperature after being pulled off the smoker by 2 or 3 degrees. Be mindful of this and consider pulling your meat off of the cooker a degree or two early, to account for this.
Running out of batteries for your thermometer in the middle of a cook is the absolute worst. If your thermometer is battery operated, keep a couple of spares on hand. If your thermometer is rechargeable, make sure you return it to the charging station after use.
Cleaning your thermometer.
It is recommended to clean off the step of your temperature probe any time it comes in contact with raw or undercooked meat. The easiest way to do this is with thermometer wipes, or even using hot, soapy water.Before packing up your thermometer after cooking, clean the whole unit, being careful to not get the electrical components wet. Focus on the probe itself, which will interact with raw food the most. Carefully cleaning with alcohol swabs or temperature probe wipes are a great way to keep your thermometer clean and avoid damaging it with water.
June 30, 2026
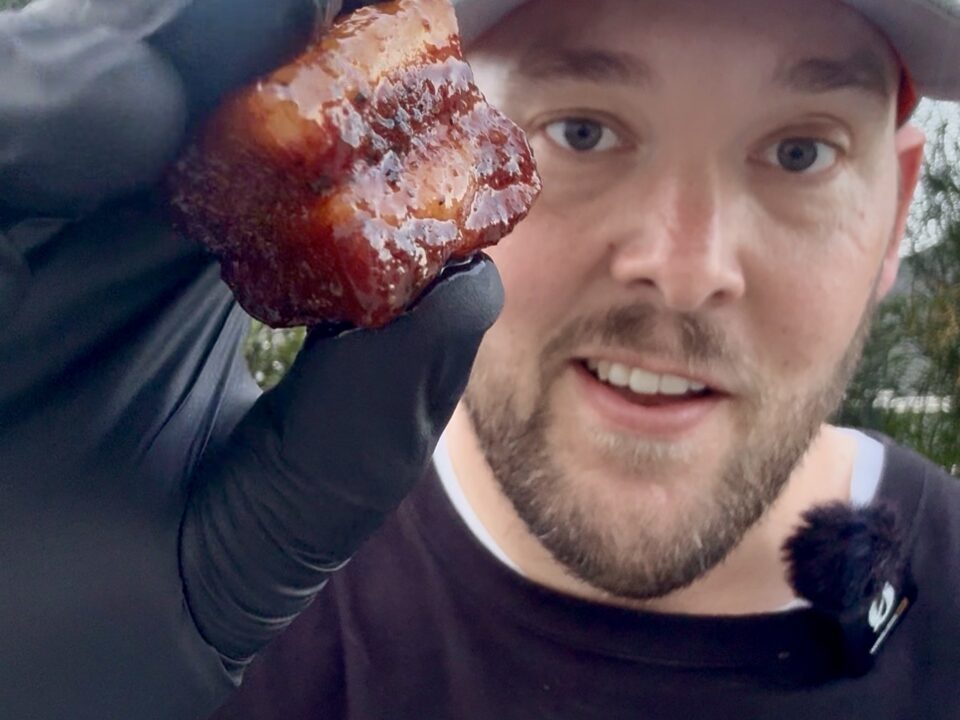
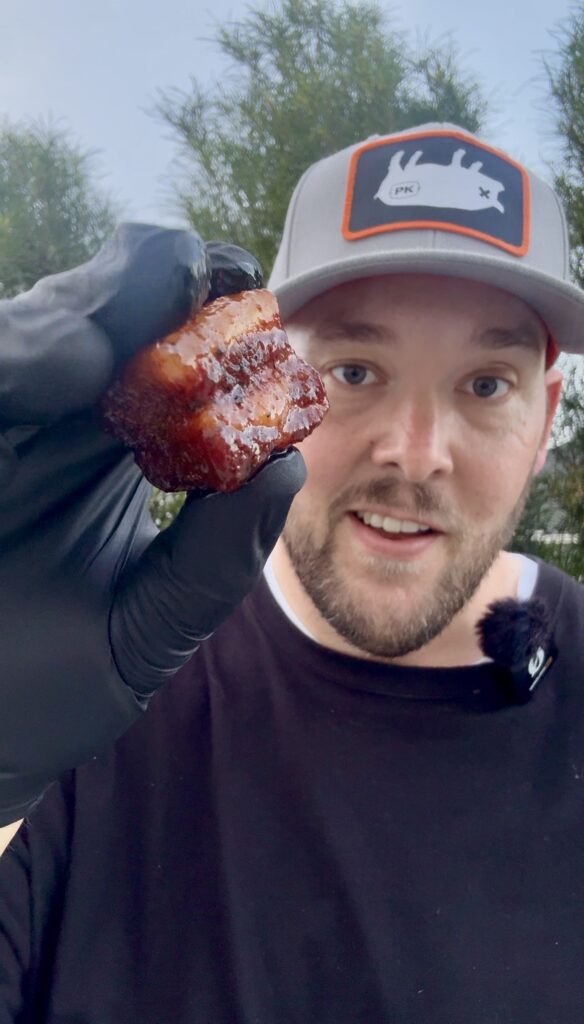
Maple Pork Belly Burnt ends are the appetizer you didn't know you needed. They are sweet, salty, buttery and delicious.
June 9, 2026
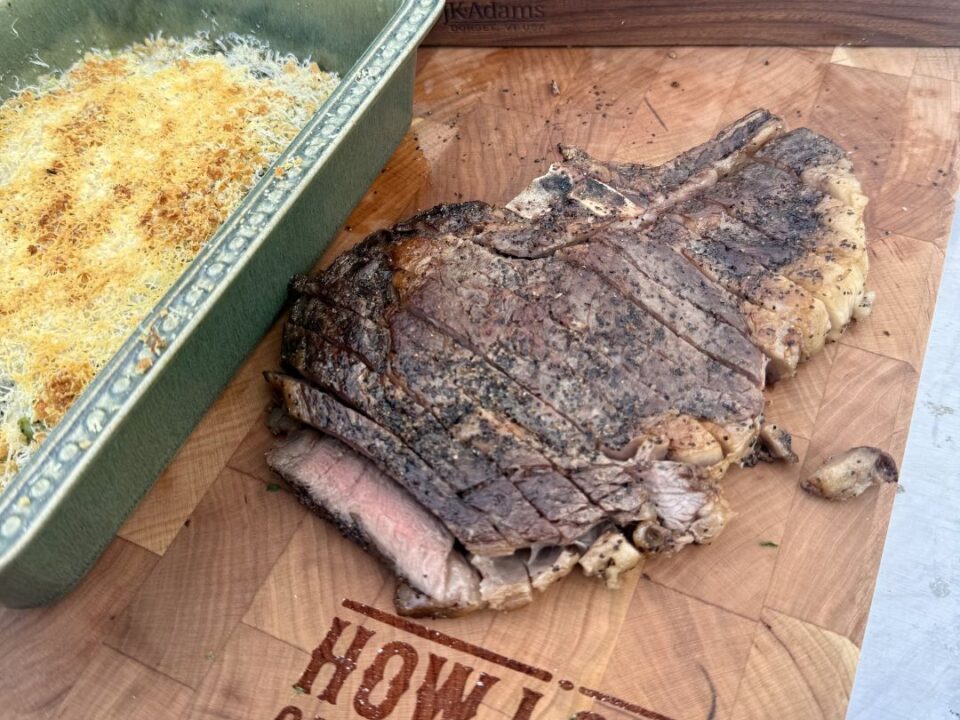
Nothing in these three recipes is overly complicated. It is essentially a slightly elevated version of a classic meat and 2 veg meal. It brings big flavor along with that unmistakable backyard BBQ feel.
July 12, 2025

There’s something primal and perfect about a French dip slider when it’s done right. Not fussy. Not dressed up with microgreens or some half-hearted aioli. Just soft buns cradling meat that practically melts on contact, rich caramelized onions that took their sweet time getting there, and bubbly, gooey cheese.